Protecting your vehicle's paint finish has never been more important in today's harsh driving environment. With road debris, UV rays, salt, and other environmental hazards constantly threatening your car's appearance, installing a high-quality paint protection film has become an essential investment for automotive enthusiasts. This comprehensive guide will walk you through the entire process of DIY installation, helping you achieve professional-level results while saving hundreds of dollars in labor costs.
Modern automotive paint protection technology has evolved significantly over the past decade, offering car owners unprecedented levels of protection against chips, scratches, and environmental damage. Whether you're dealing with daily commute hazards or planning extended road trips, understanding the proper installation techniques will ensure maximum longevity and performance from your investment.
Understanding Paint Protection Film Technology
Material Composition and Benefits
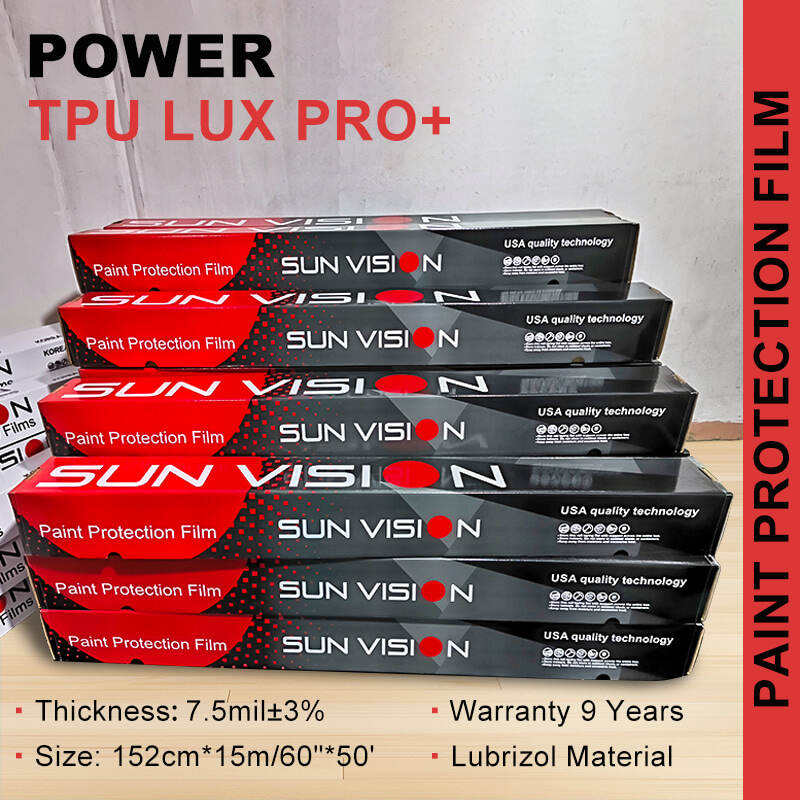
Today's paint protection film consists of multiple layers of thermoplastic polyurethane, each engineered for specific protective functions. The top clear coat provides UV resistance and self-healing properties, while the adhesive layer ensures secure bonding without damaging your vehicle's original paint. This advanced construction delivers exceptional durability, typically lasting 7-10 years under normal driving conditions.
The self-healing technology represents one of the most significant advances in automotive protection. Minor scratches and swirl marks disappear when exposed to heat from sunlight or warm water, maintaining the film's pristine appearance throughout its service life. This feature alone justifies the investment for many vehicle owners who prioritize long-term paint preservation.
Coverage Options and Selection Criteria
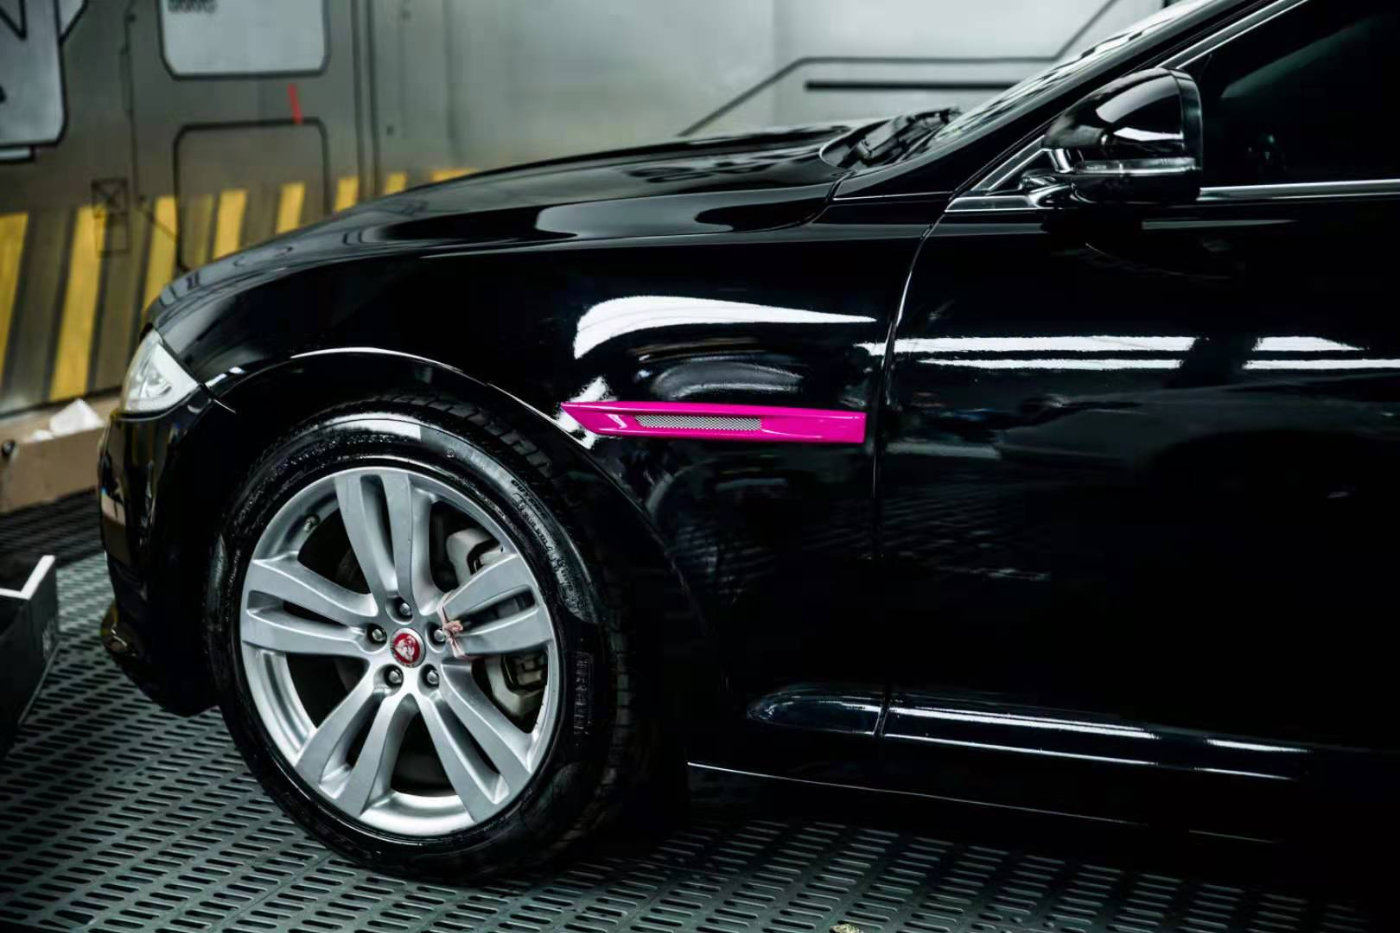
Choosing the right coverage pattern depends on your driving habits, budget constraints, and aesthetic preferences. Full-front coverage includes the entire hood, front bumper, fenders, mirrors, and headlights, providing comprehensive protection for high-impact areas. Partial coverage focuses on the most vulnerable zones, offering cost-effective protection for budget-conscious consumers.
Premium films feature enhanced optical clarity, ensuring virtually invisible protection that won't alter your vehicle's appearance. When selecting materials, consider factors such as warranty coverage, installation difficulty, and compatibility with your vehicle's paint system. Professional-grade films typically offer superior performance and longevity compared to entry-level alternatives.
Essential Tools and Materials
Professional Installation Kit
Successful DIY installation requires proper tools and high-quality materials. Your essential kit should include a heat gun or hair dryer for conforming the film around curves, squeegees for removing air bubbles, and precision cutting tools for trimming excess material. Microfiber towels, isopropyl alcohol, and automotive clay bars ensure proper surface preparation.
Investing in quality tools pays dividends during installation and prevents costly mistakes. Professional-grade squeegees feature soft edges that won't scratch the film surface, while precision knives ensure clean, straight cuts. Temperature guns help monitor surface heat during installation, preventing overheating that could damage the adhesive.
Surface Preparation Supplies
Thorough surface preparation determines installation success more than any other factor. Start with automotive soap and microfiber wash mitts to remove surface dirt and grime. Clay bar treatment eliminates embedded contaminants that could interfere with adhesion, while isopropyl alcohol provides final cleaning before film application.
Pay special attention to areas around emblems, trim pieces, and body lines where dirt commonly accumulates. These zones require extra cleaning effort to ensure proper adhesion and prevent lifting edges. Professional installers often use dedicated surface preparation products that enhance adhesion and extend film life.
Step-by-Step Installation Process
Initial Surface Assessment and Cleaning
Begin your installation in a clean, dust-free environment away from direct sunlight and wind. Ideal conditions include temperatures between 65-75 degrees Fahrenheit with low humidity levels. Inspect your vehicle's paint for existing damage, scratches, or imperfections that might affect installation quality.
Wash your vehicle thoroughly using the two-bucket method to prevent cross-contamination. Follow up with clay bar treatment to remove embedded contaminants, then perform final cleaning with isopropyl alcohol. This three-stage process ensures optimal surface conditions for maximum adhesion and longevity.
Film Positioning and Initial Placement
Carefully remove the protective liner from your paint protection film, handling only the edges to prevent fingerprints on the adhesive surface. Position the film over your target area, allowing adequate overlap for trimming and edge sealing. Work systematically from one end to the other, maintaining consistent pressure and avoiding air bubble formation.
Use masking tape to temporarily secure film edges while you adjust positioning. Take your time during this phase, as proper initial placement prevents complications later in the process. Professional installers often use spray solutions to provide lubrication during positioning, allowing for minor adjustments before final adhesion.
Advanced Techniques for Complex Surfaces
Curved Surface Application
Applying paint protection film to curved surfaces requires patience, proper heating techniques, and gradual stretching to prevent stress marks. Use your heat gun to warm the film gradually, working in small sections to maintain control. The material becomes more pliable as temperature increases, conforming naturally to complex contours.
Start from the center of curved areas and work outward, using overlapping strokes with your squeegee to eliminate air pockets. Avoid overheating, which can cause adhesive failure or film distortion. Professional results require maintaining consistent temperature and pressure throughout the application process.
Edge Sealing and Trimming
Proper edge sealing prevents dirt infiltration and ensures long-term durability. Use your squeegee to firmly press edges against the substrate, creating a weatherproof seal. Trim excess material with sharp blades, leaving minimal overlap to prevent lifting while ensuring complete coverage of vulnerable areas.
Pay particular attention to areas around door handles, emblems, and trim pieces where precise cutting is essential. These locations experience frequent contact and require secure adhesion to prevent premature failure. Professional installers often use specialized tools for accessing tight spaces and achieving clean, precise cuts.
Quality Control and Final Inspection
Bubble Elimination and Surface Smoothing
After initial installation, perform thorough inspection for air bubbles, wrinkles, or imperfections. Small bubbles often disappear naturally within 24-48 hours as the adhesive cures, but larger bubbles require immediate attention. Use gentle heat and squeegee pressure to work bubbles toward the nearest edge.
Persistent bubbles may indicate contamination or insufficient surface preparation. In these cases, lift the affected section carefully and re-clean the substrate before reapplication. Professional results require patience and attention to detail during this critical phase.
Post-Installation Care Instructions
Allow 24-48 hours for complete adhesive curing before washing or exposing your vehicle to harsh conditions. During this period, avoid high-pressure washing, automated car washes, and aggressive cleaning products that could interfere with the bonding process. Park in shaded areas when possible to prevent excessive heat exposure.
Once fully cured, your paint protection film requires minimal maintenance beyond regular washing with pH-neutral automotive soap. Avoid abrasive cleaners, petroleum-based products, and aggressive scrubbing that could damage the surface. Proper maintenance ensures maximum longevity and optimal performance throughout the film's service life.
Troubleshooting Common Installation Issues
Addressing Installation Defects
Even experienced installers encounter challenges during paint protection film application. Common issues include silvering around edges, orange peel texture, and adhesion problems in high-stress areas. Understanding these problems and their solutions helps achieve professional-quality results consistently.
Silvering typically results from excessive stretching or inadequate surface preparation. Address this issue by lifting the affected section, re-cleaning the substrate, and reapplying with proper technique. Orange peel texture often indicates temperature problems during installation, requiring careful heat management and gradual application.
Long-Term Performance Optimization
Maximizing your paint protection film investment requires understanding factors that affect long-term performance. Environmental conditions, maintenance practices, and installation quality all influence durability and appearance retention. Regular inspection helps identify potential issues before they become serious problems.
Monitor edge adhesion, particularly around high-wear areas like door handles and bumper corners. Address lifting edges immediately to prevent dirt infiltration and progressive failure. Professional-quality installations typically maintain excellent appearance and protection for 7-10 years with proper care.
Cost Analysis and ROI Considerations
DIY versus Professional Installation
DIY paint protection film installation offers significant cost savings compared to professional services, typically reducing total project cost by 50-70%. However, successful DIY installation requires time investment, proper tools, and patience to achieve professional-quality results. Consider your skill level and available time when making this decision.
Professional installation includes warranty coverage and guaranteed results, providing peace of mind for high-value vehicles. DIY installations may void manufacturer warranties if not performed correctly, making professional services more appropriate for expensive or collectible automobiles. Evaluate your specific situation and risk tolerance when choosing installation methods.
Long-Term Value Protection
Paint protection film represents one of the most cost-effective methods for preserving vehicle appearance and resale value. Studies indicate that protected vehicles maintain significantly higher resale values compared to unprotected examples, often exceeding the initial film investment. This protection becomes increasingly valuable as vehicles age and paint damage accumulates.
Beyond financial considerations, paint protection film eliminates the stress and frustration of dealing with paint damage from road debris, parking lot incidents, and environmental hazards. This peace of mind proves invaluable for enthusiasts who take pride in maintaining pristine vehicle appearance throughout ownership.
FAQ
How long does paint protection film last?
High-quality paint protection film typically lasts 7-10 years under normal driving conditions. Factors affecting longevity include installation quality, environmental exposure, maintenance practices, and film grade. Premium films with enhanced UV resistance and self-healing properties generally provide longer service life compared to entry-level alternatives.
Can I install paint protection film myself?
DIY installation is possible with proper tools, materials, and patience. Success depends on your skill level, available workspace, and attention to detail. Simple applications like door cups and mirror backs are ideal for beginners, while complex curved surfaces require more experience. Consider starting with less visible areas to develop technique before tackling prominent surfaces.
Will paint protection film damage my car's paint?
Modern paint protection films use pressure-sensitive adhesives designed for safe removal without paint damage. However, films left in place beyond their recommended service life may become difficult to remove cleanly. Professional-grade films from reputable manufacturers undergo extensive testing to ensure safe removal when properly maintained and removed within warranty periods.
How much does DIY paint protection film installation cost?
DIY installation costs vary significantly based on coverage area and film quality. Basic partial front coverage typically costs $200-400 in materials, while full-vehicle protection can exceed $1,500. Professional installation of the same coverage would cost 2-3 times more, making DIY installation attractive for budget-conscious enthusiasts willing to invest time and effort.